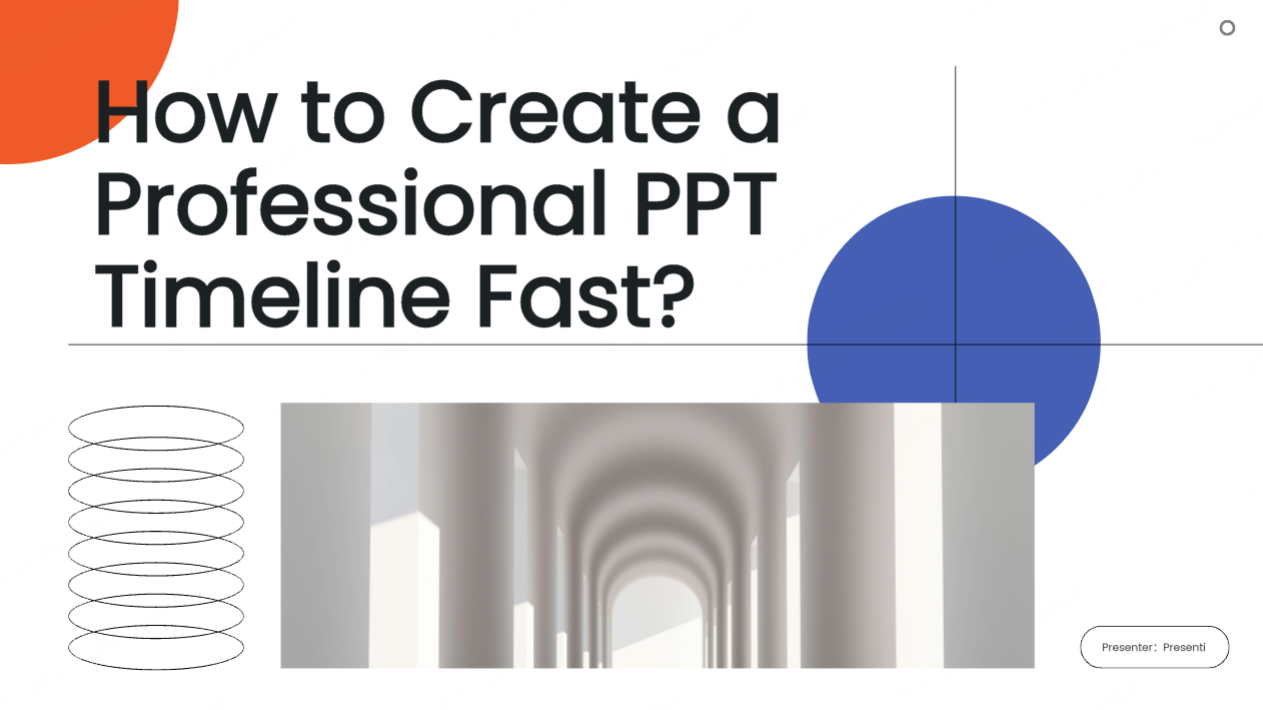
A well designed timeline in PowerPoint can instantly make your presentation look more professional, structured, and engaging. Whether you’re showcasing a project plan, visualizing product development stages, or summarizing company milestones, a clear timeline helps your audience understand the flow of events at a glance.
But here’s the challenge: creating a timeline that looks clean and visually appealing can be time consuming, especially if you start from scratch. The good news? You don’t have to. In this guide, you’ll learn three easy and practical ways to create beautiful PPT timelines, from building one manually to using ready made templates and even AI tools that can generate them automatically.
1. Build a Timeline Manually in PowerPoint
If you prefer full control over your design, creating a timeline manually gives you flexibility to customize every detail.
Before you start, outline the key time points and the information you want to show. Having a clear plan makes it easier to keep your layout logical and visually balanced.
Option 1: Create Directly in PowerPoint
This is the most traditional method and works perfectly for people who enjoy hands on design.
How to do it:
Open PowerPoint → click Insert → Shapes → choose a line or arrow for your main timeline axis.
Add circles or rectangles along the line as time markers or milestones.
Use text boxes to describe each event or date.
Adjust colors, alignment, and spacing to keep everything clean and consistent.
Pros:
Full creative freedom, add or remove nodes anytime.
Perfect for unique, branded designs.
Cons:
Can be time consuming to finetune.
Requires patience for alignment, spacing, and color matching.
Option 2: Use Drawing or Diagram Tools
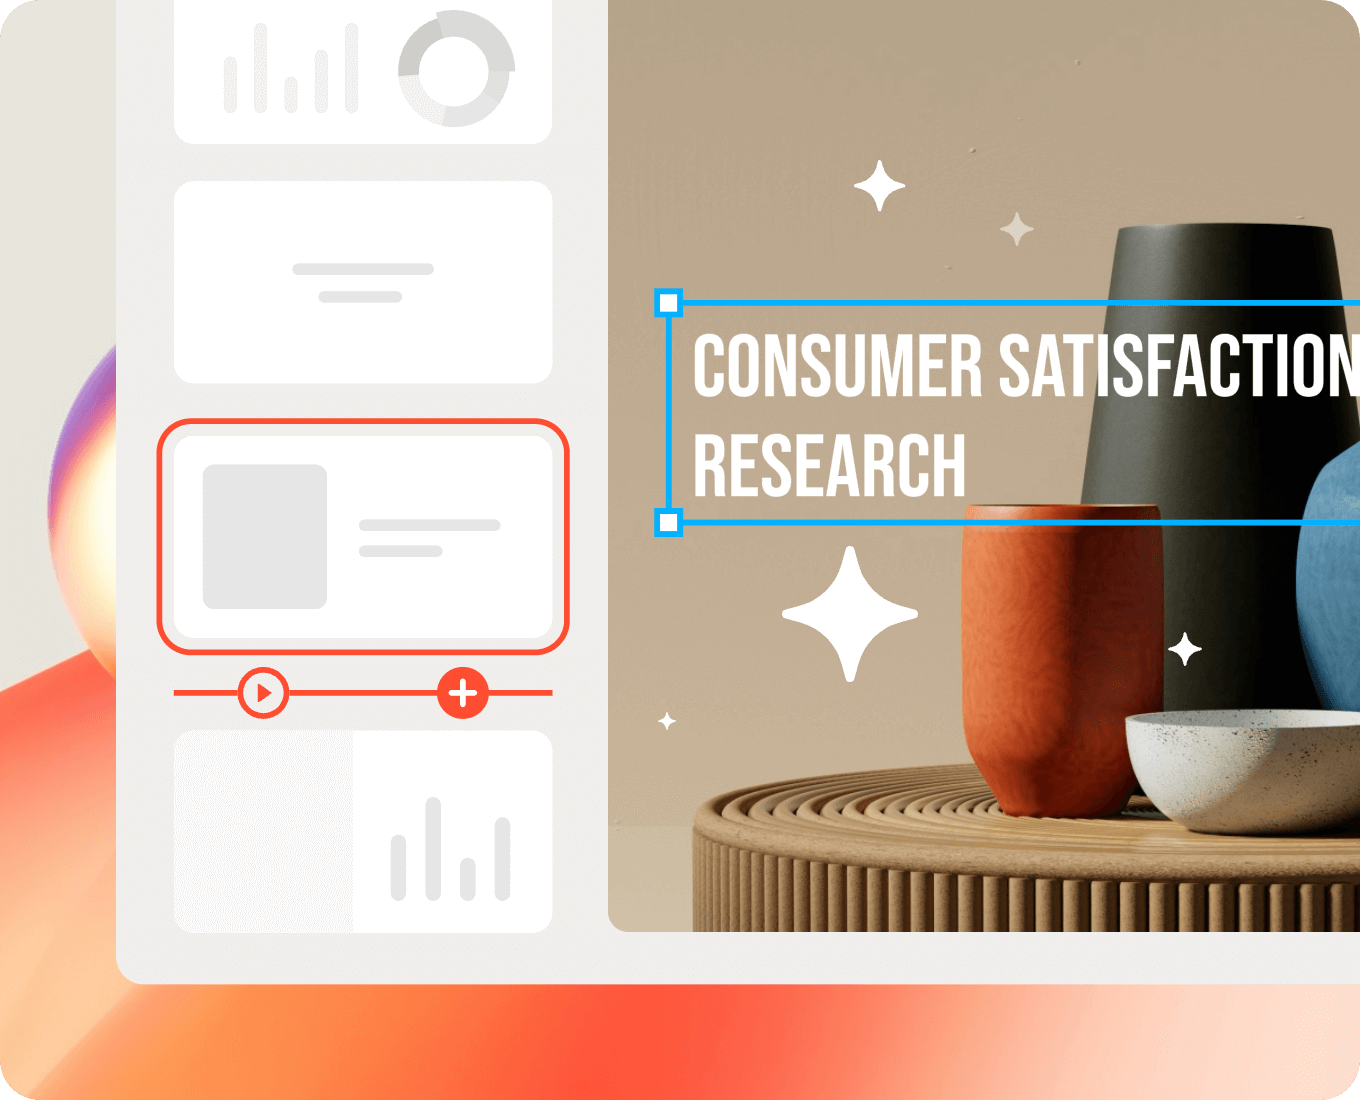
If you want something faster but still customizable, try visual tools like Boardmix Whiteboard, SmartArt, or Presenti AI. These platforms provide drag and drop shapes and prebuilt layouts that make design effortless, even for beginners.
Once your design is ready, you can export it as an image and insert it into PowerPoint. The only downside: you won’t be able to edit the shapes directly inside PPT afterward.
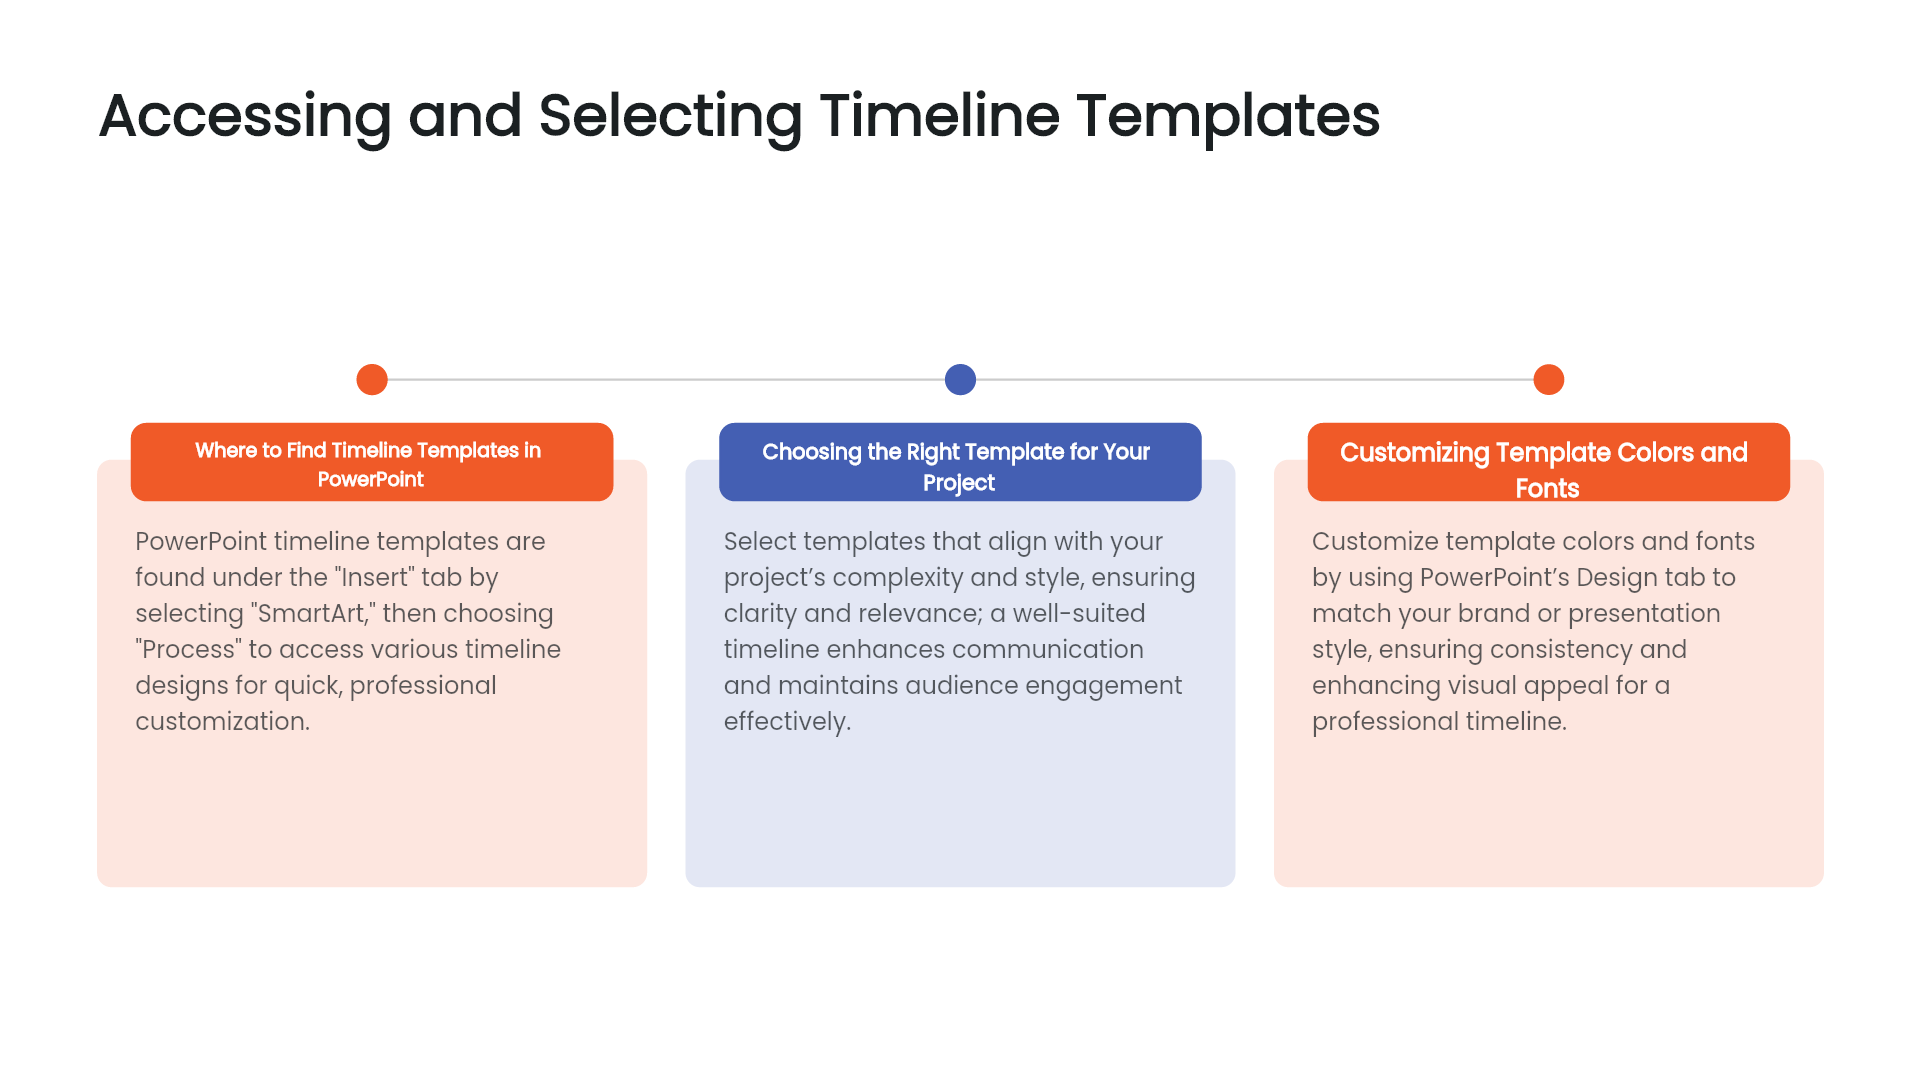
2. Use Premade PPT Timeline Templates
When time is tight, starting with a premade template is the easiest way to go. There are countless free and premium templates available online that can help you finish a polished timeline in minutes.
Where to find them:
1. Microsoft Office Template Library: Open PowerPoint, go to “New,” and search “Timeline”.
2. Online Presentation Tools: Platforms such as Presenti AI provide ready to edit timeline templates that you can modify directly in your browser.
With these templates, all you need to do is replace the sample text with your own information and you’re done.
Why people love this option:
Incredibly fast and beginner friendly.
Great for last minute reports or team updates.
What to watch out for:
Some templates can look generic or inconsistent in style. If you want your presentation to stand out, you may still need to tweak fonts, colors, or icons to match your brand’s aesthetic.
3. Generate PPT Timelines Instantly with AI Tools
If you often create progress reports, strategy plans, or marketing roadmaps, AI presentation generators like Presenti AI can save you hours of manual work.
These tools use artificial intelligence to build complete, structured presentations based on just a few keywords.
(1) Smart Content Generation
Type a simple prompt such as “Project Plan (including Timeline)”, and the AI automatically generates a full PowerPoint deck complete with structured slides, text content, and visual elements.
(2) Multiple Timeline Layouts
AI tools come with built in styles like linear, vertical, or circular timelines. You can switch layouts instantly in the sidebar to match your presentation’s theme whether you want something sleek and minimal or colorful and creative.
(3) Automatic Design and Formatting
No need to worry about alignment or color matching. AI takes care of spacing, typography, and visual balance for you, ensuring every slide looks cohesive and professional.
(4) Fully Editable Output
Even after generation, you can still edit everything text, shapes, colors, and layouts. It’s the perfect combination of speed and customization.
With AI tools like Present AI, what used to take half a day of manual design can now be done in just a few minutes, an incredible productivity boost for professionals who make frequent presentations.
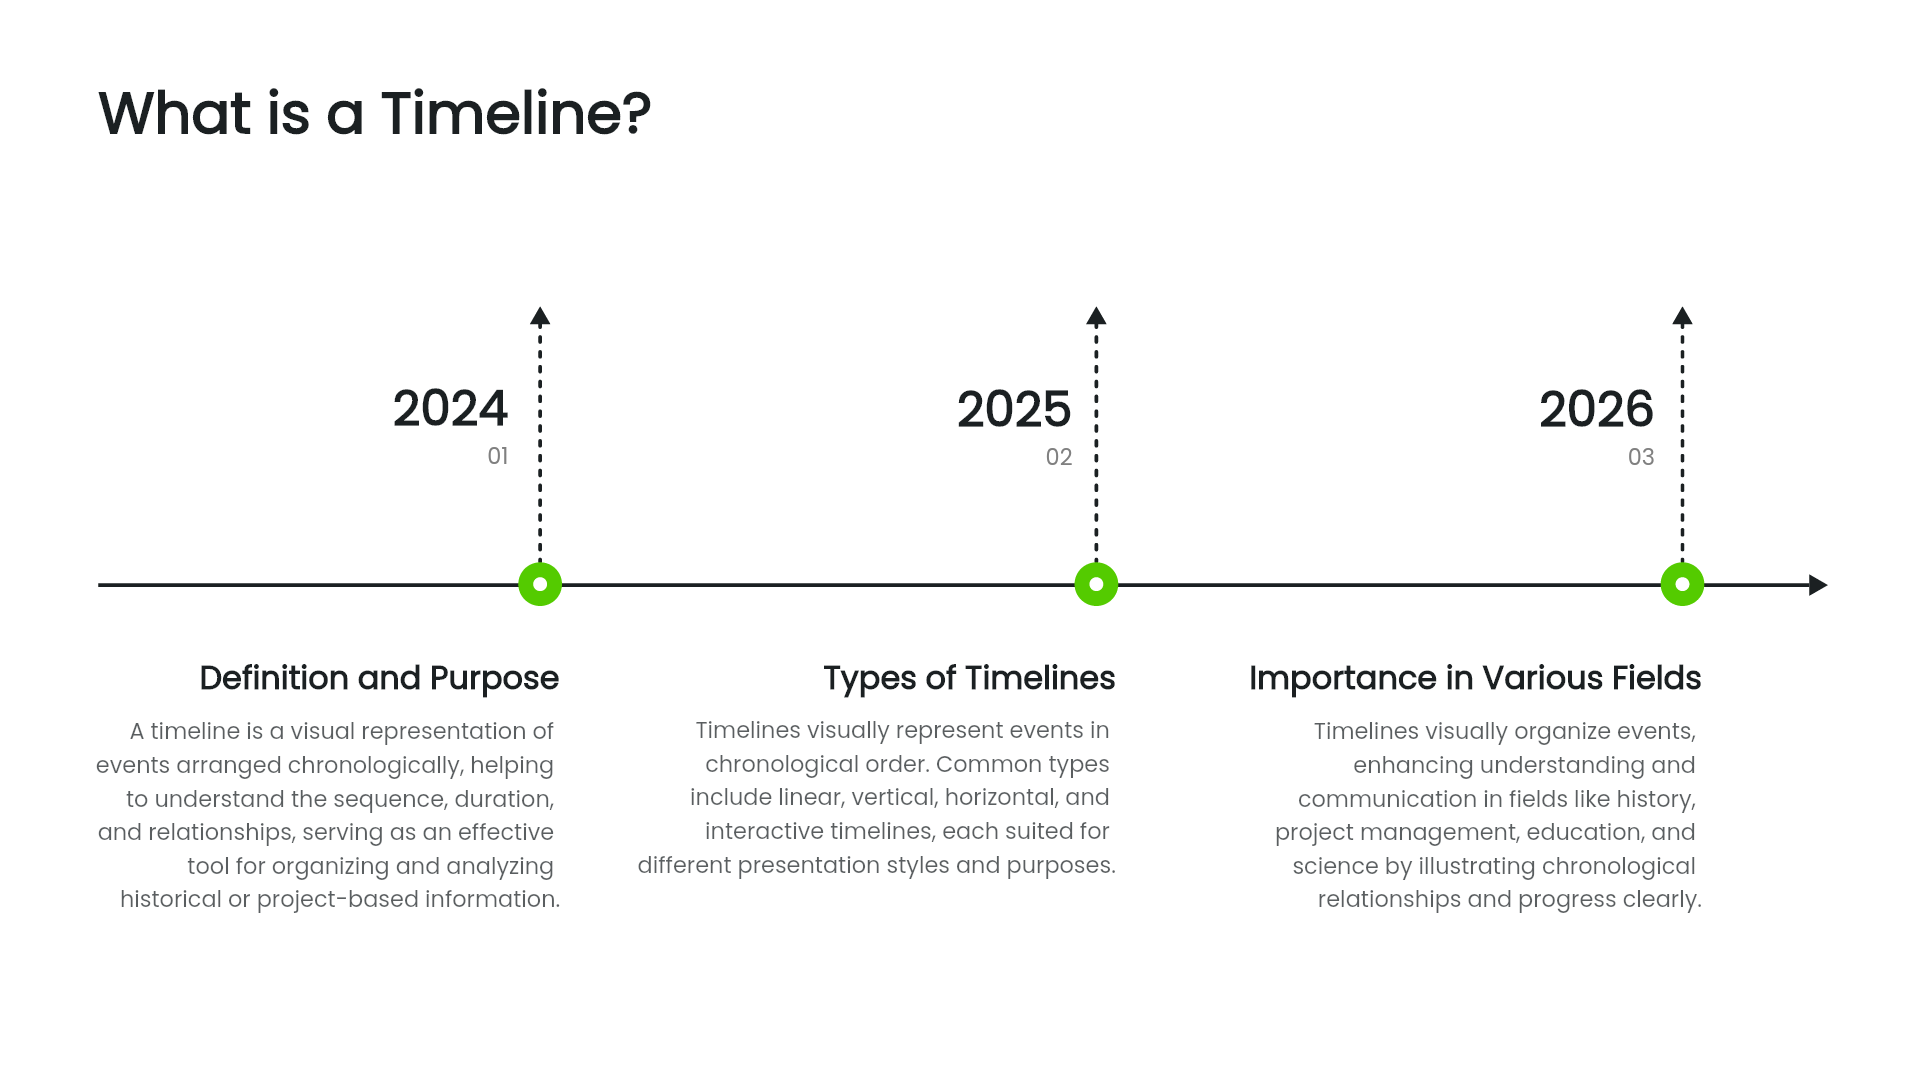
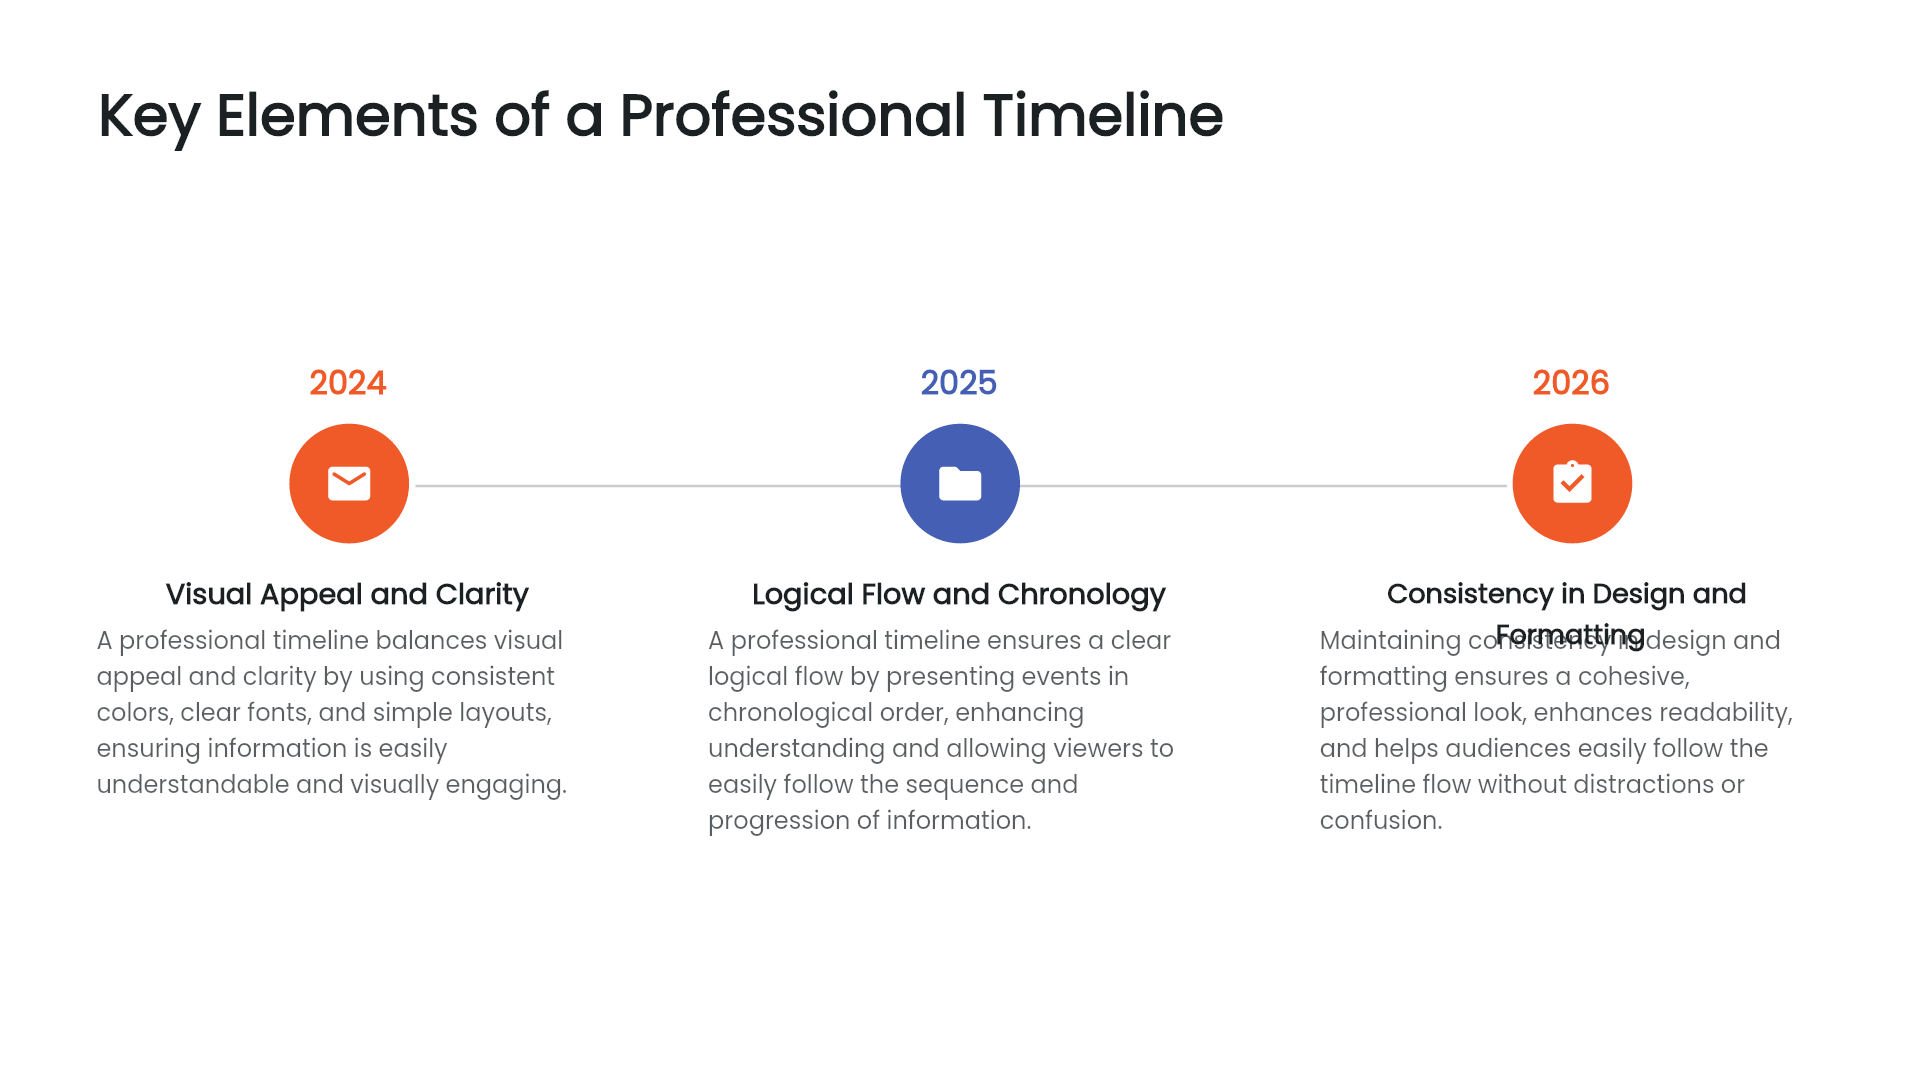
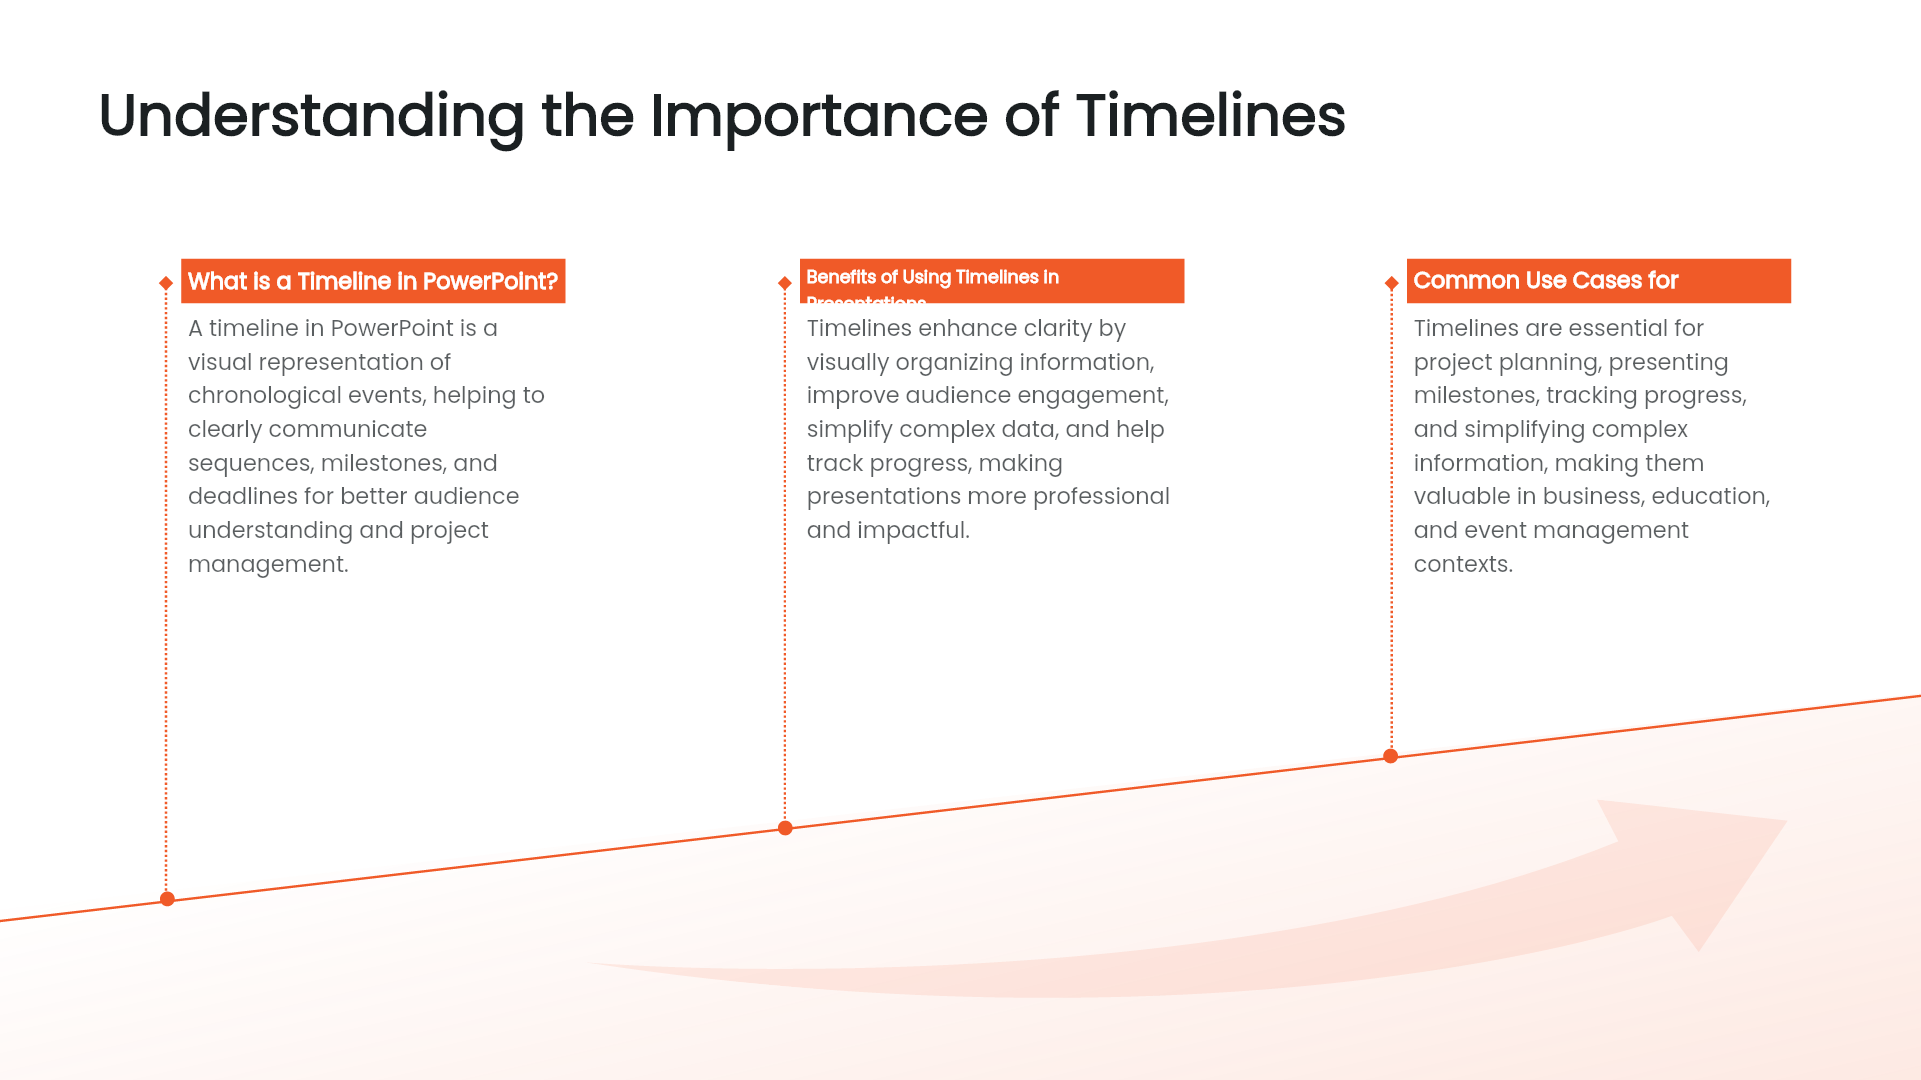
Why a Good Timeline Makes a Difference
A timeline isn’t just a design element, it’s a storytelling tool. It helps your audience understand progress, milestones, and direction at a glance. Whether you’re pitching to clients, summarizing team achievements, or presenting quarterly results, a clear timeline can make your message more persuasive and memorable.
By using modern tools, especially AI powered generators, you can focus more on content and storytelling instead of spending time adjusting visuals. The result? Presentations that look polished, organized, and genuinely impressive.
Final Thoughts
Making a timeline in PowerPoint doesn’t have to be tedious. You have several good options:
1. Manual design for complete creative control.
2. Premade templates for speed and convenience.
3. AI generation for maximum efficiency and professional aesthetics.
Among these, AI tools like Presenti AI offer the most powerful balance between quality and convenience. They let you create beautiful, logically structured timelines in minutes, so you can focus on delivering your message, not designing slides.
If you’re still wondering how to make a PowerPoint timeline quickly, give AI a try. It might just become your favorite time saving presentation secret.