This release article was originally published on 2024-11-07. It describes the features introduced at that time, including color themes, mind maps, charts, and image tools. Interface labels and feature access may have changed since publication; check your current workspace before following these steps.
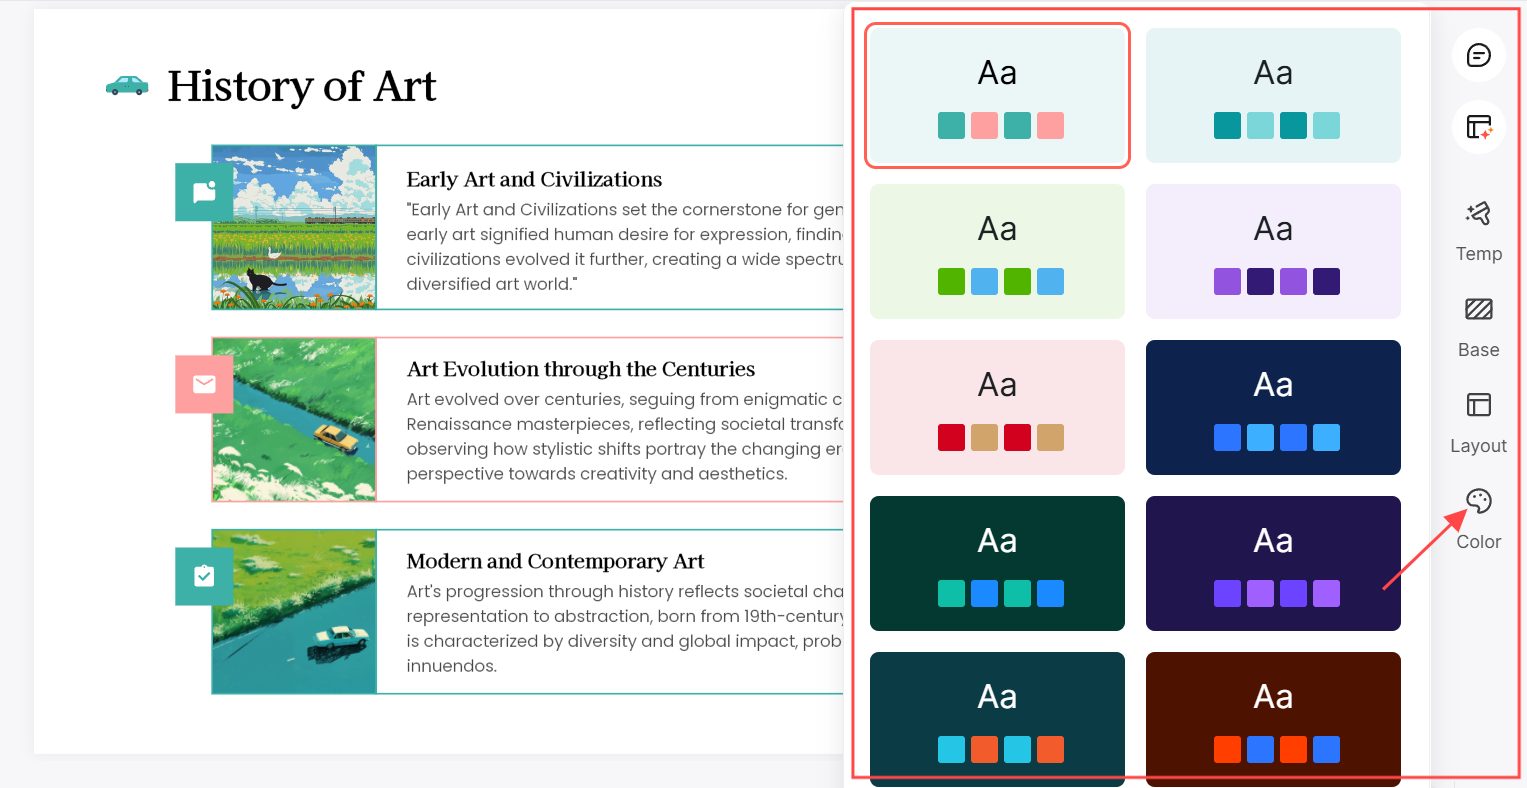
Switch Between Color Themes with Ease
Presentations should reflect your style and message. With our new color scheme switching feature, you can now effortlessly toggle between different theme palettes to ensure your presentation has the perfect tone. Whether you prefer a minimalist approach or something vibrant and bold, Presenti AI makes it easy to adapt your slides to your needs.
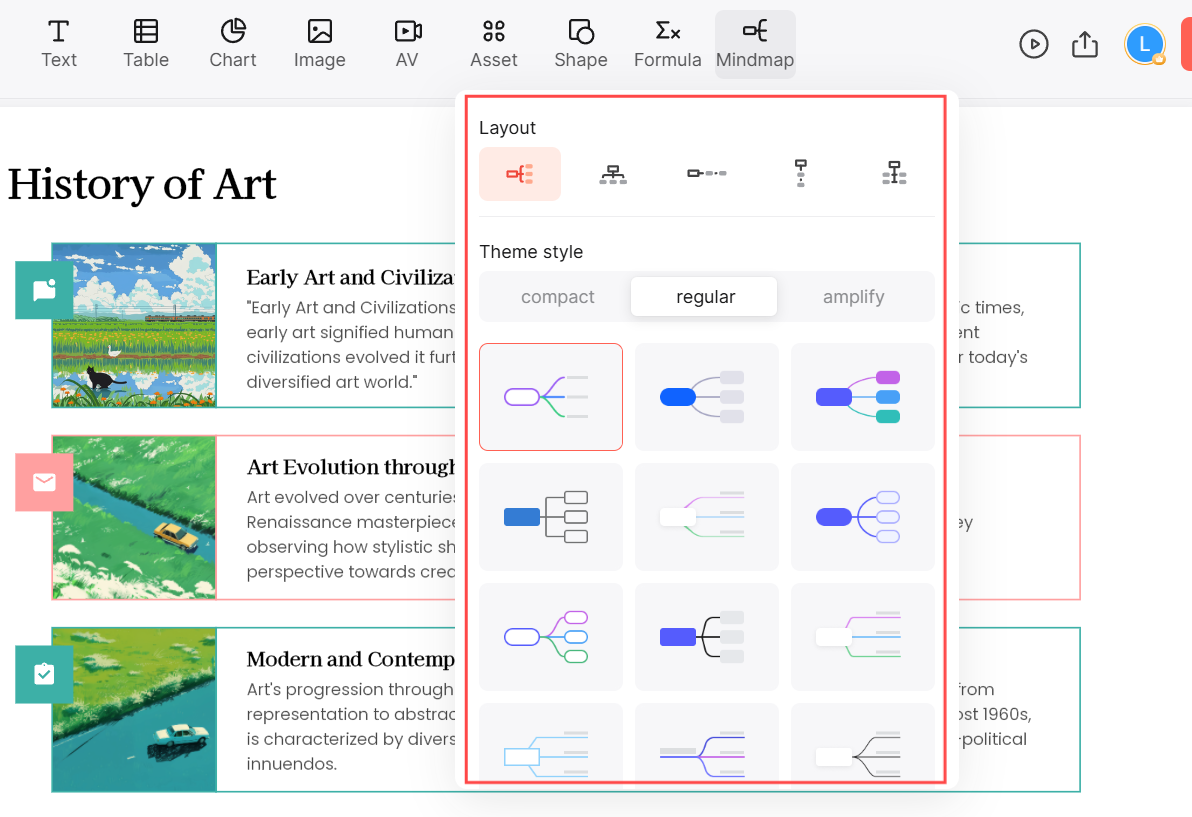
Introducing the Mind Map Tool
Organizing ideas and brainstorming has never been easier! We’ve added a mind map tool to help you visually represent complex concepts and ideas. Perfect for both planning and presenting, the mind map feature allows you to create a clear and logical flow of thoughts with just a few clicks.
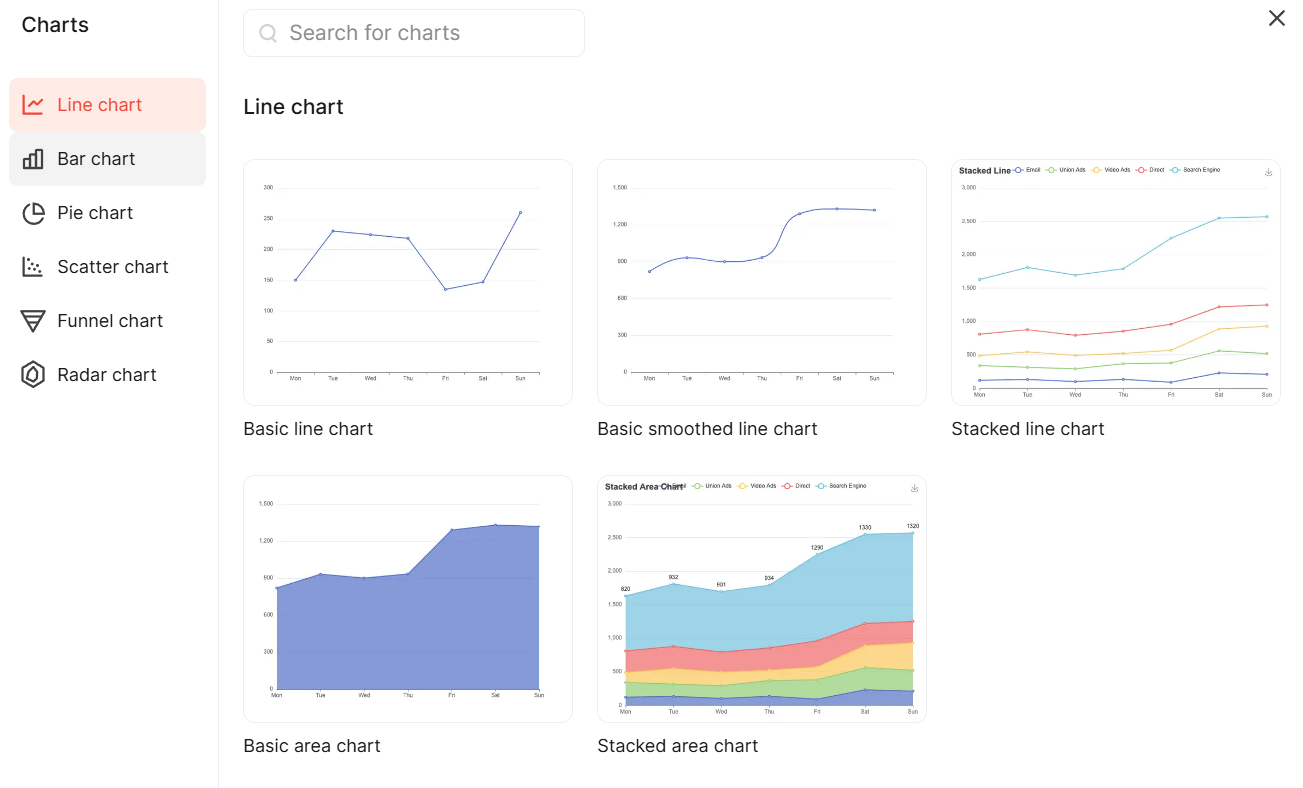
Advanced Charting Capabilities
Data visualization just got a major upgrade with our new Chart feature. Presenti AI now supports various chart types, including line, bar, pie, scatter, funnel, and radar charts. Whether you're presenting sales data, survey results, or trend analyses, these charts make it easy to communicate information in a compelling and visually striking way.
Enhanced File Management with Find and Replace
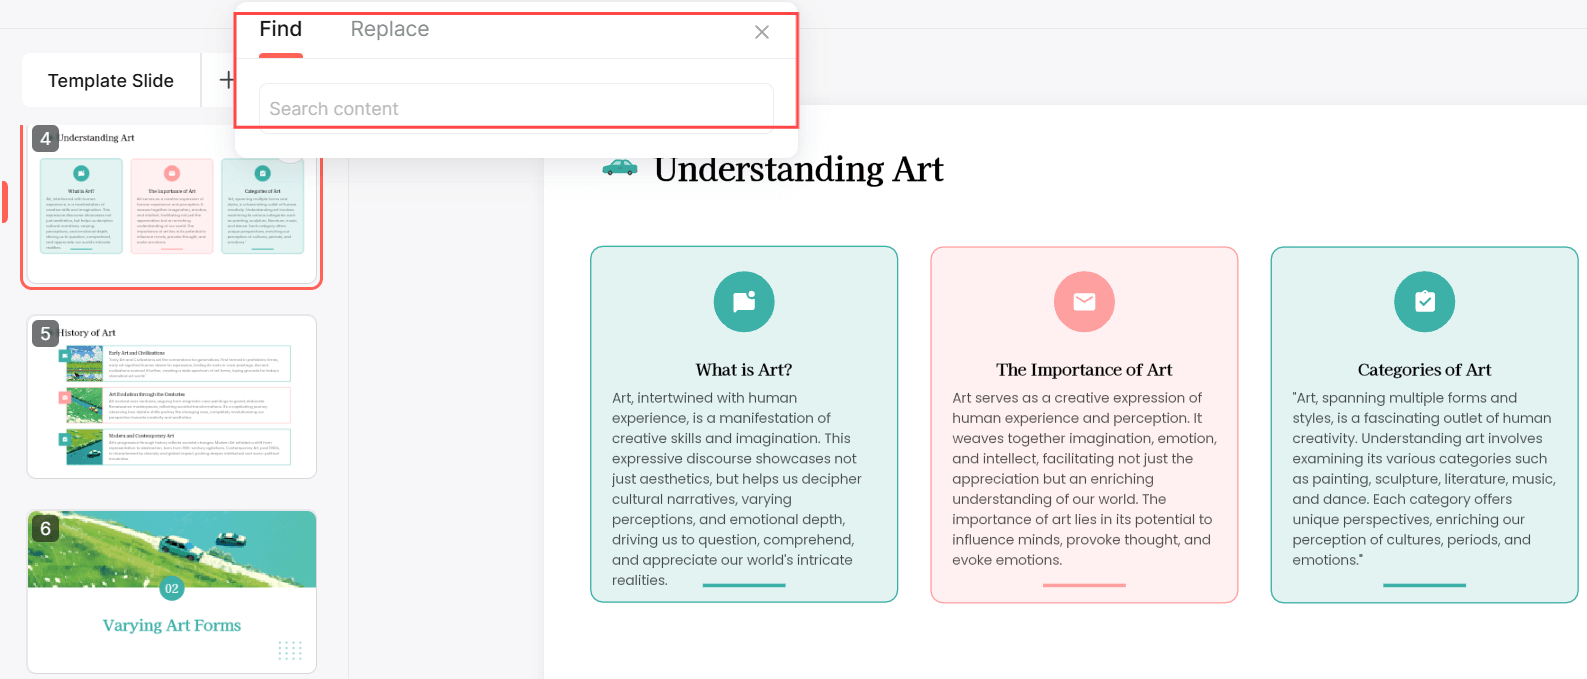
We’ve added find and replace support for elements within files, making it even easier to manage and edit your presentation content. Quickly locate specific text or design elements and swap them out in seconds—saving you valuable time.
Find and replace: While editing a presentation, press Ctrl+F to open Find, then choose Replace. Check each match before applying a replacement throughout the file.
Dark Mode for Better Viewing
Dark mode provides an alternative interface appearance. Choose the theme you find comfortable for your workspace and lighting.
Efficient Image Management with Theme Packs and AI Support
Managing images in your presentations just became easier. We’ve introduced a new image theme pack that supports batch image replacement, making it simple to update multiple images at once.
How to batch replace images in your presentation?
If you find the images in your AI-generated presentation don’t quite match your theme, don’t worry. That’s because each presentation template comes with initial images. You can easily replace them by following these steps.
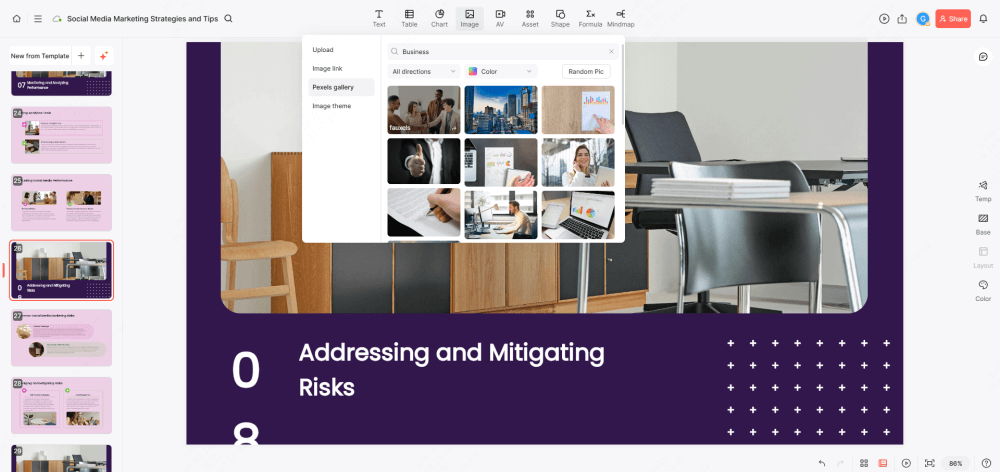
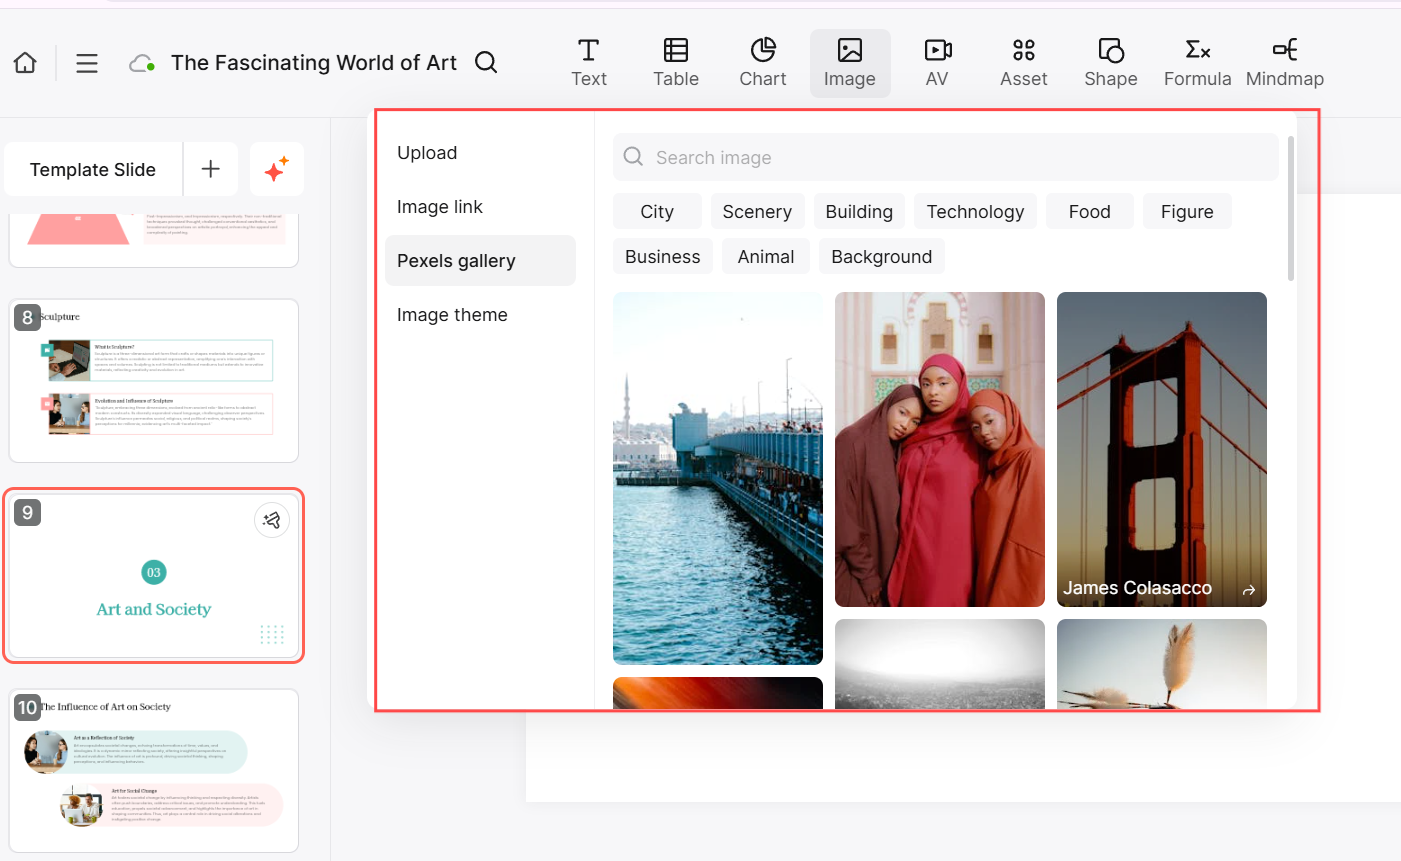
Step 1. Click “Image” on the toolbar anywhere in your presentation, then select “Image theme”. You’ll see a variety of images for different styles and scenarios. Use filters to narrow them down.
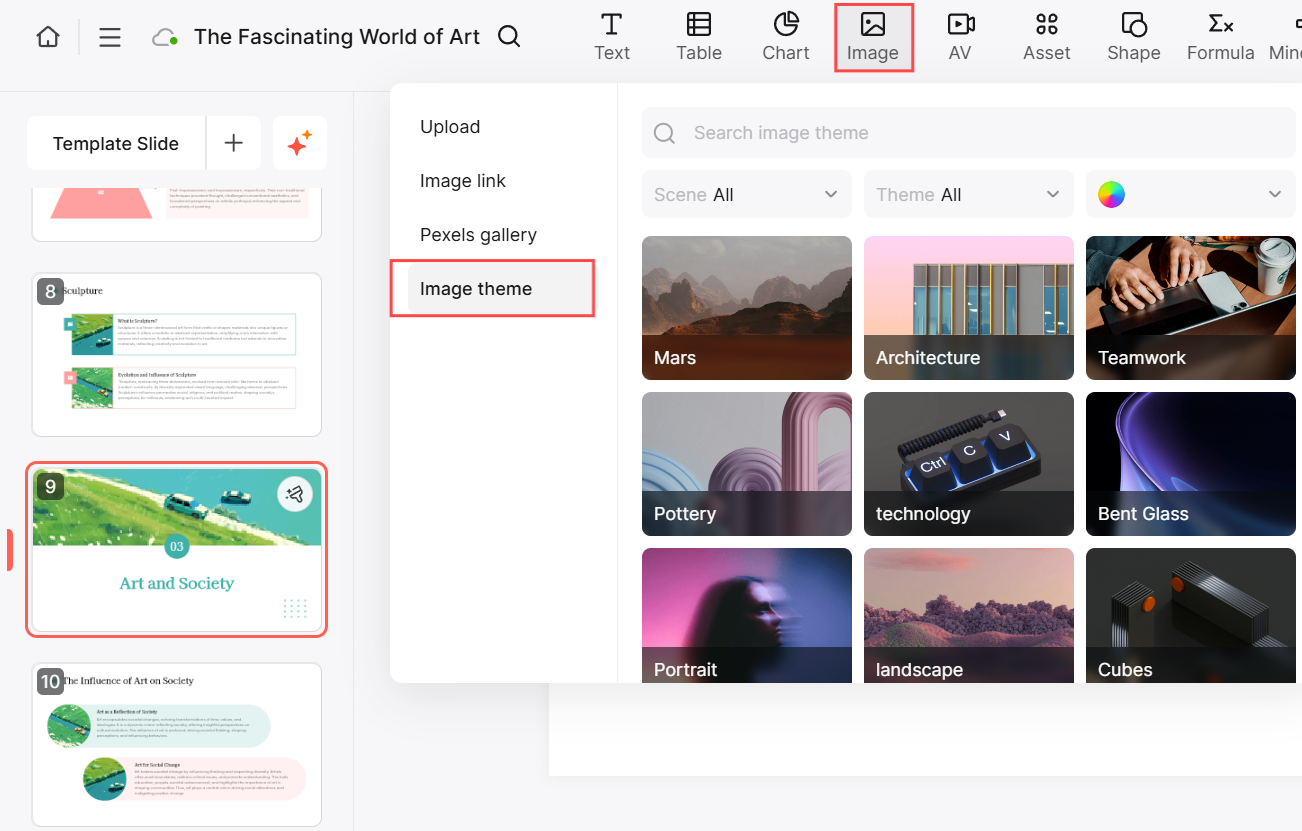
Step 2. Choose a theme that fits your presentation. For example, if your presentation is related to a work report, you can select the "Teamwork" theme, which includes a range of work-related images.
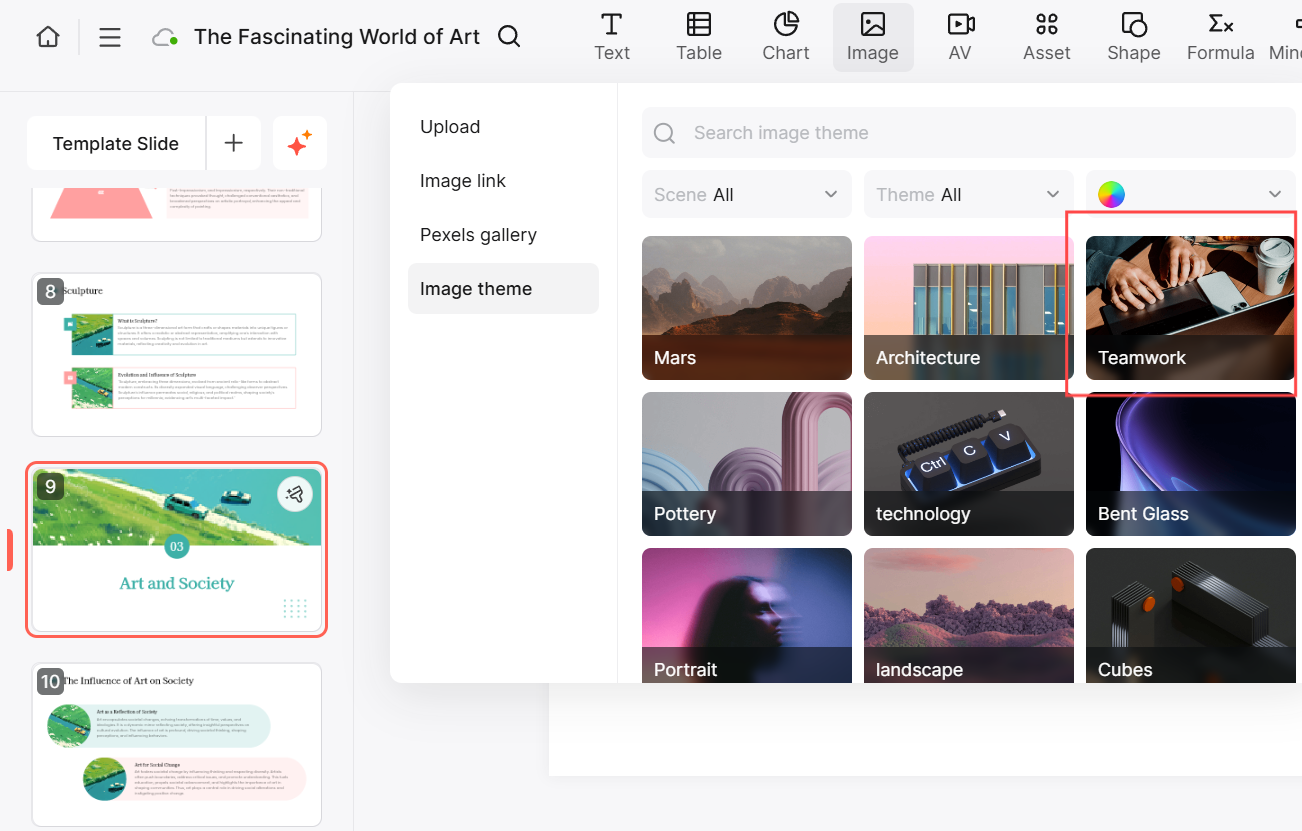
Step 3. Click “Replace all with this theme” to automatically switch all default images to the selected theme.
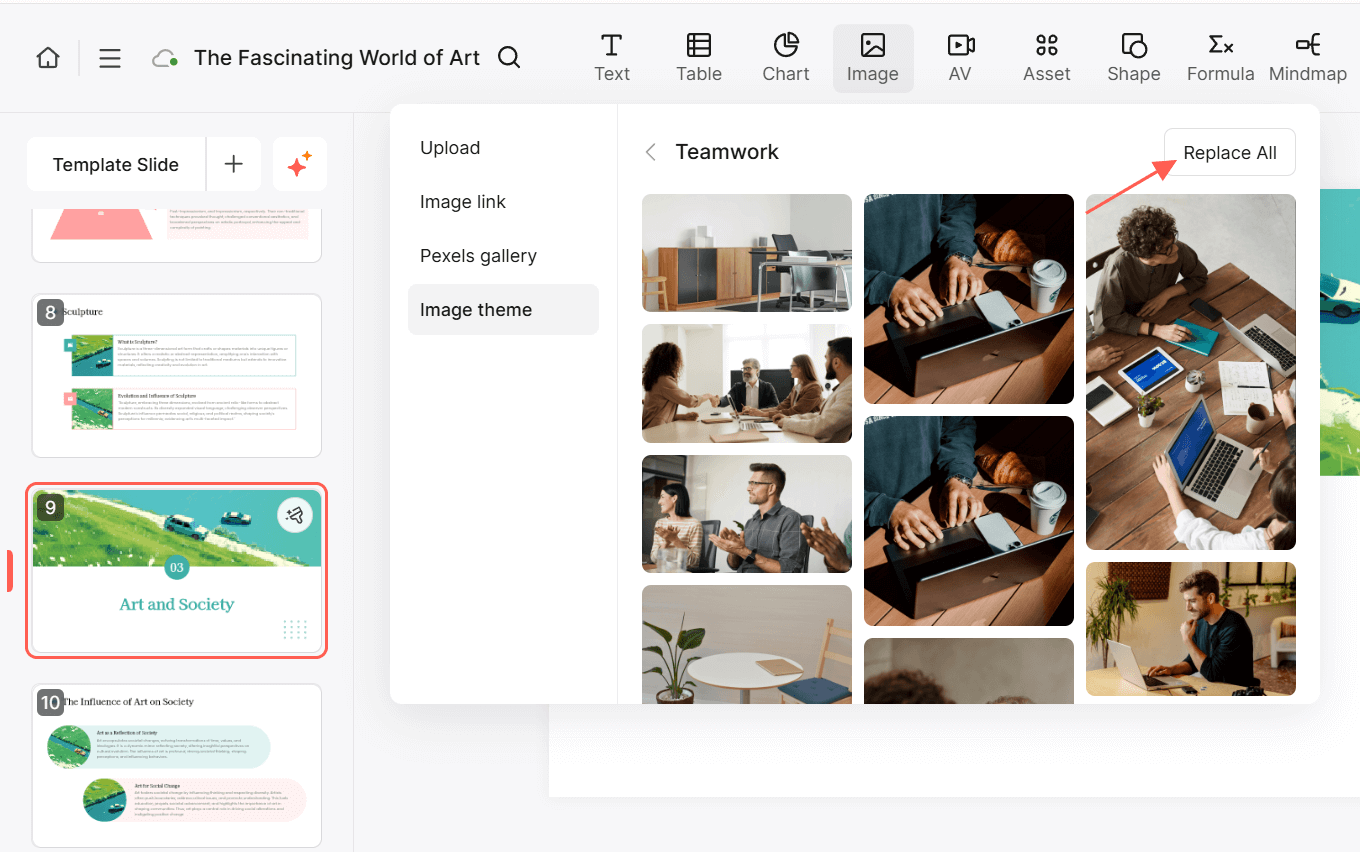
Step 4. If you prefer to replace just one image, select and replace only that one!
Additionally, now we support AI-generated images, so you can create visual options and choose the ones that fit your presentation’s theme.
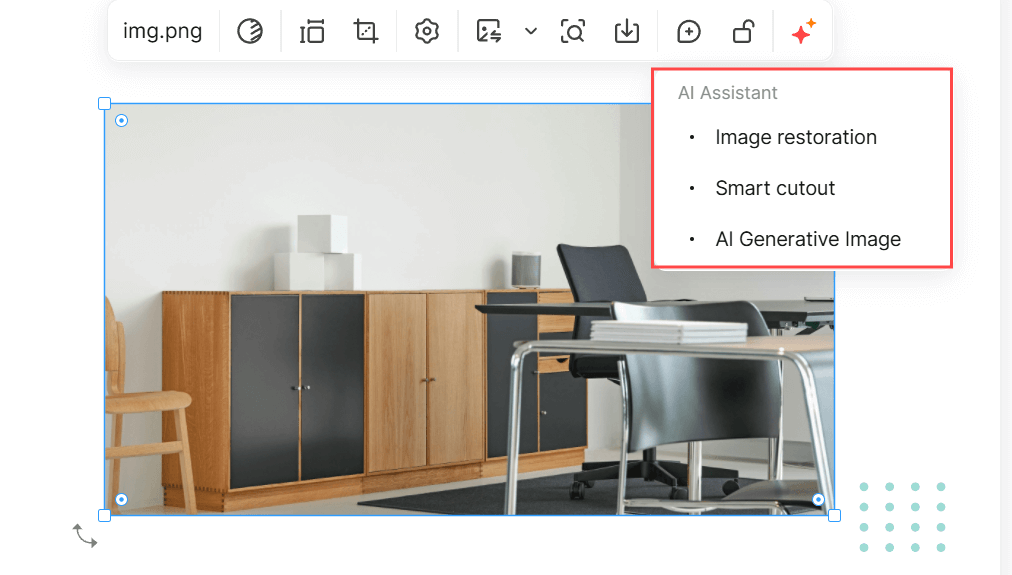

How to Use AI-Generated Images in Your Presentation
Integrating AI-generated images into your presentations can significantly enhance visual appeal and engagement. Follow these simple steps to effortlessly replace existing images or create new ones that align with your content.
Step 1. Begin by selecting the image you want to replace within your Presenti presentation. If you don’t have an image ready, you can easily add one by navigating to the “Image” option at the top of the interface.
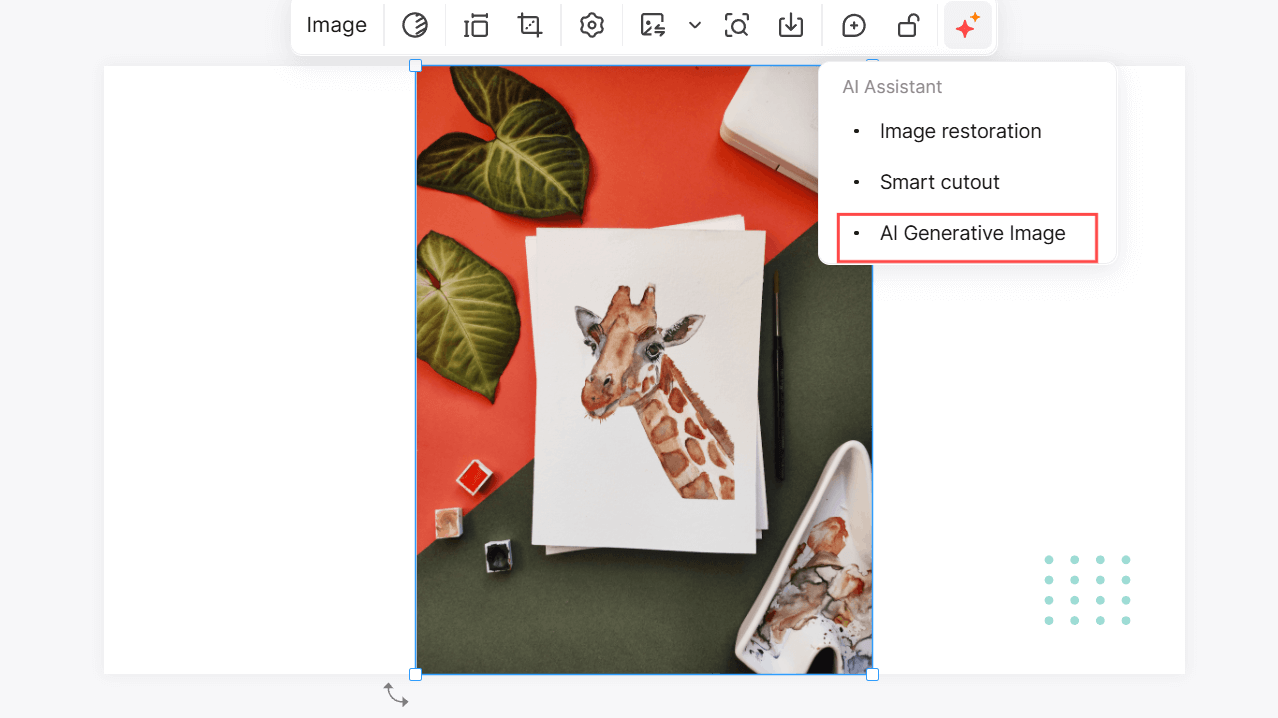
Step 2. When your cursor hovers over the image, click the AI icon and select “AI Generative Image” from the available options.
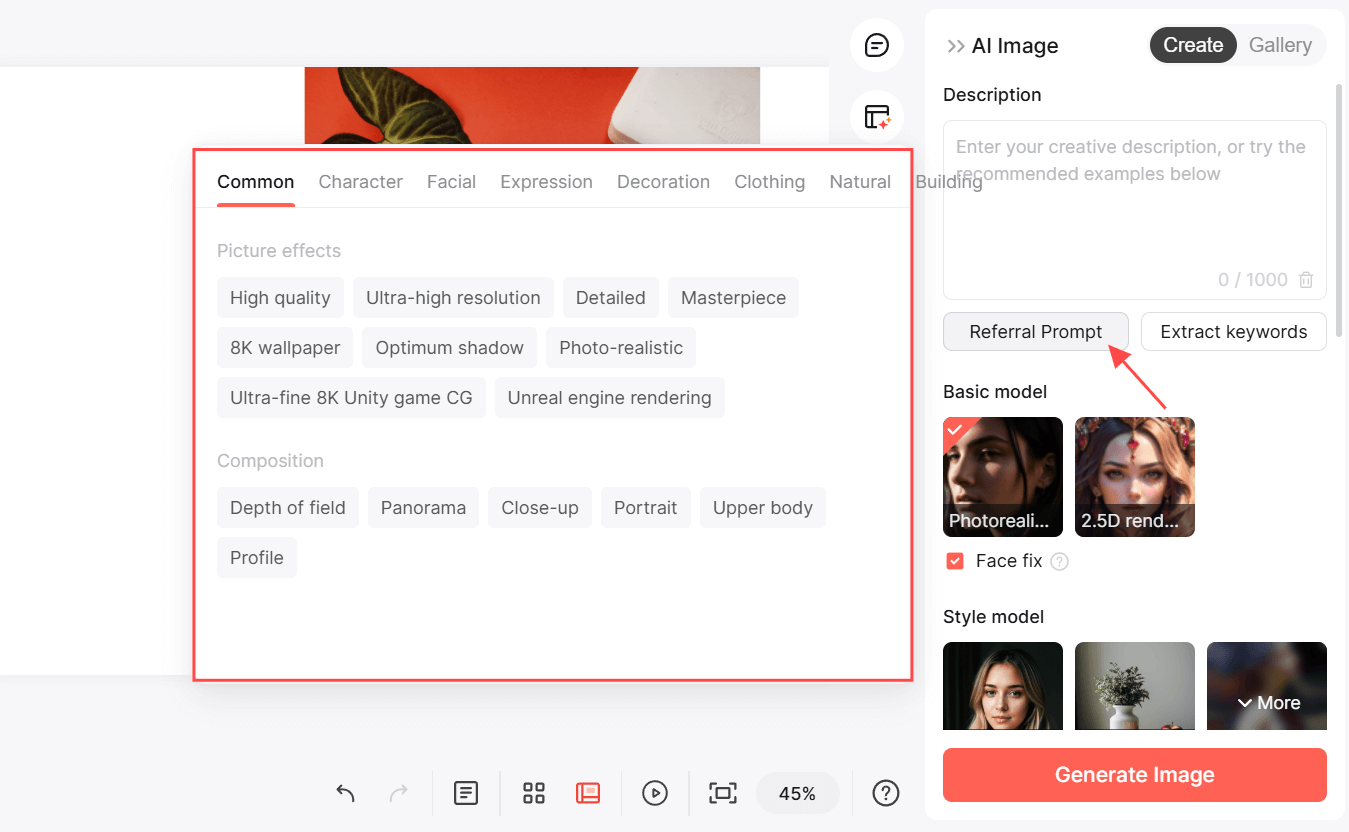
Step 3. In the description box, articulate your vision for the image by providing detailed prompts. For additional inspiration, you can click on “Referral Prompt”, which offers suggestions related to characters, expressions, identities, decorations, nature, and more.
Step 4. Choose a specific style for your generated image, such as a vintage Polaroid look. If you have a reference image, click “Upload” to provide visual guidance. Compare the generated result with your intended style before using it.
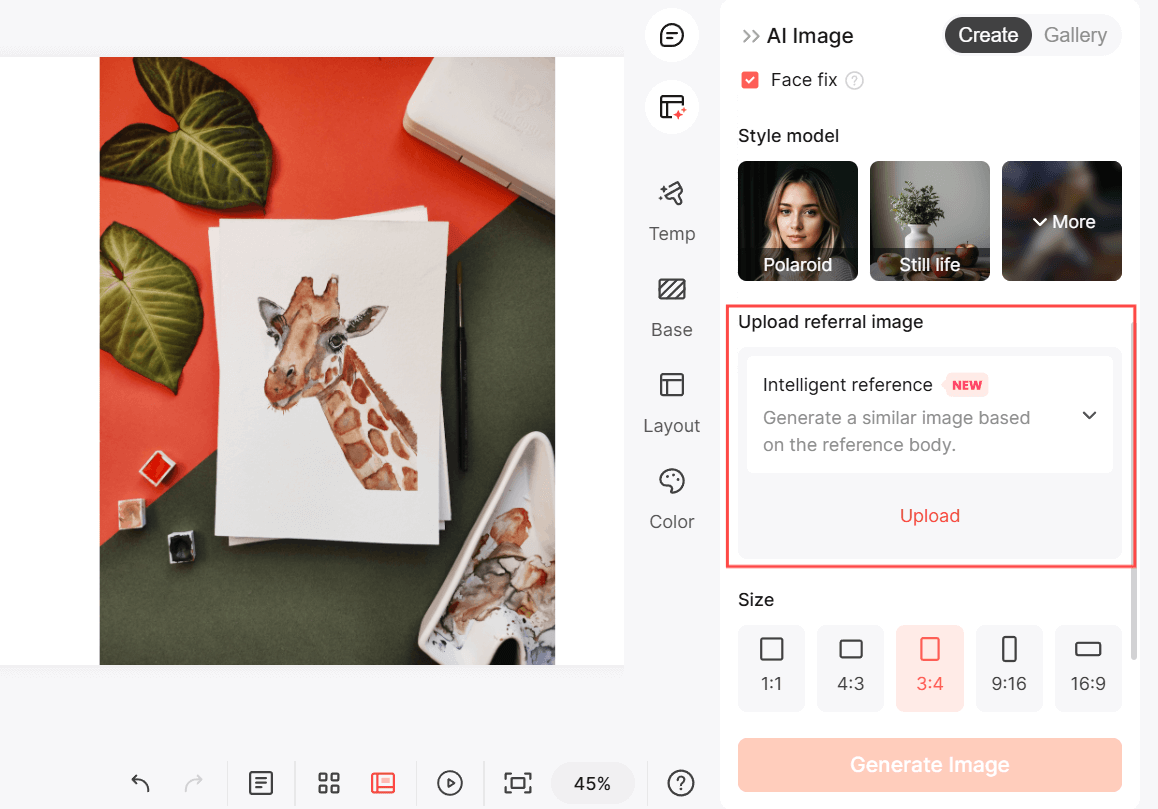
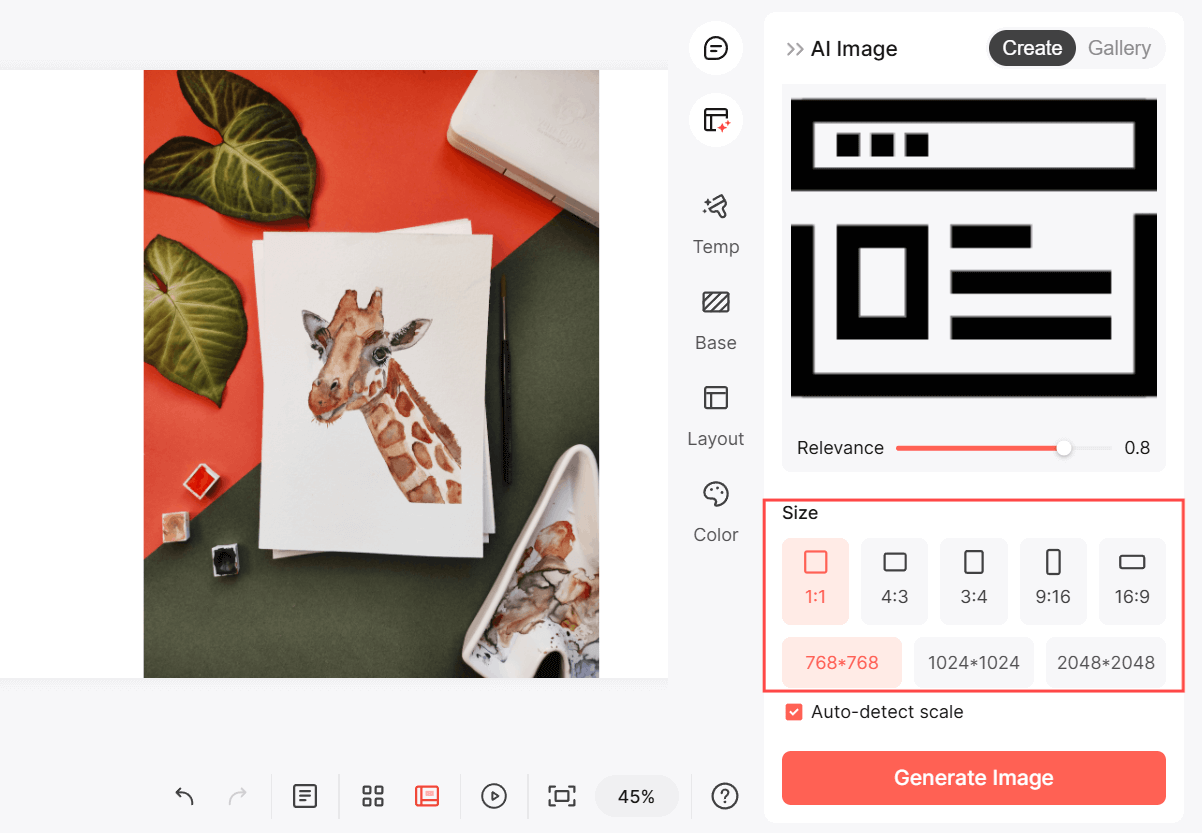
Step 5. Specify the dimensions of the image to fit seamlessly into your presentation layout.
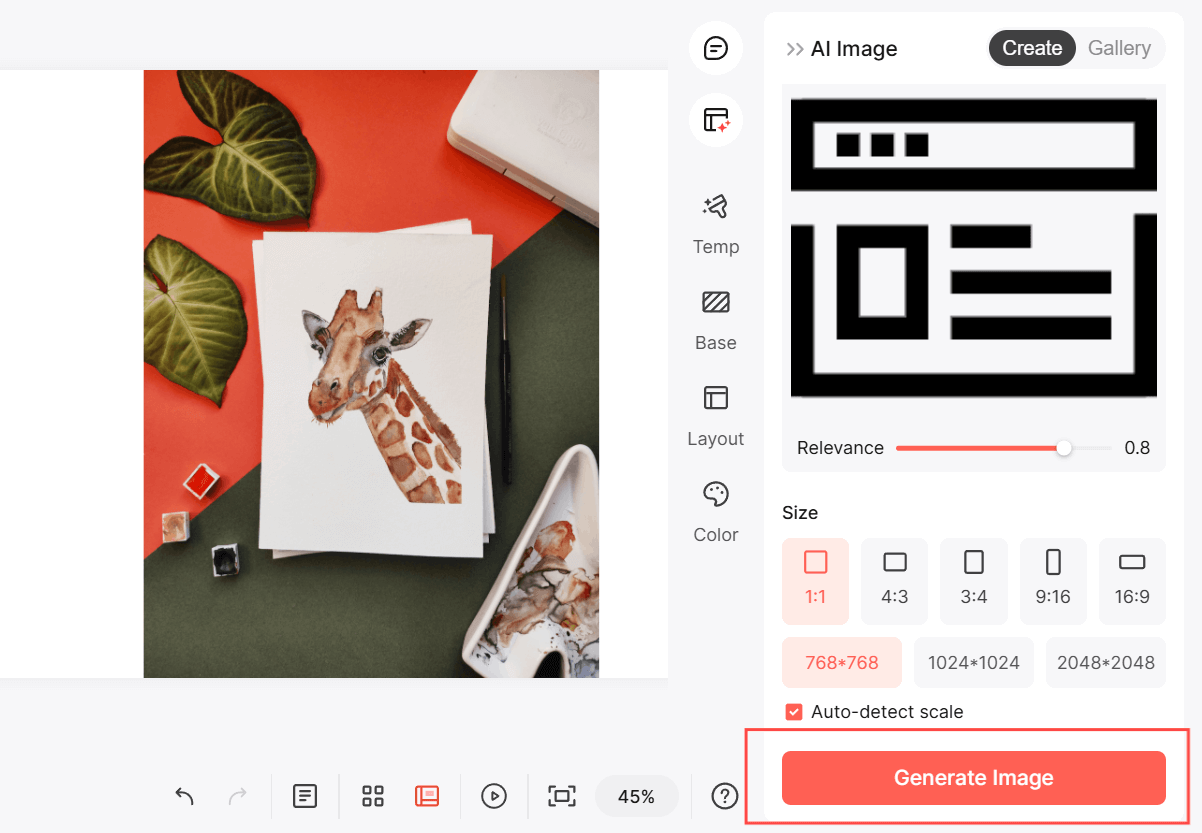
Step 6. Once you’ve finalized all the settings, click “Generate Image,” then review the result for relevance, distracting details, and fit within the slide.
Review the Result Before Presenting
After changing a theme, chart, or image, review the surrounding slides. Keep colors and labels consistent, and confirm that the new visual still supports the point you want to make.
This article is a historical release overview. Check your current workspace for available features and use the steps above as a starting point.