To group objects in PowerPoint, select two or more compatible shapes or pictures, then choose Shape Format or Picture Format → Group → Group. If Group is grayed out, isolate the selected objects to find what is blocking it.
Grouping solves a different problem from positioning objects neatly. The broader PowerPoint layout and editing tips cover arranging a slide. This guide focuses on keeping a small component together while leaving its individual parts available for later changes.
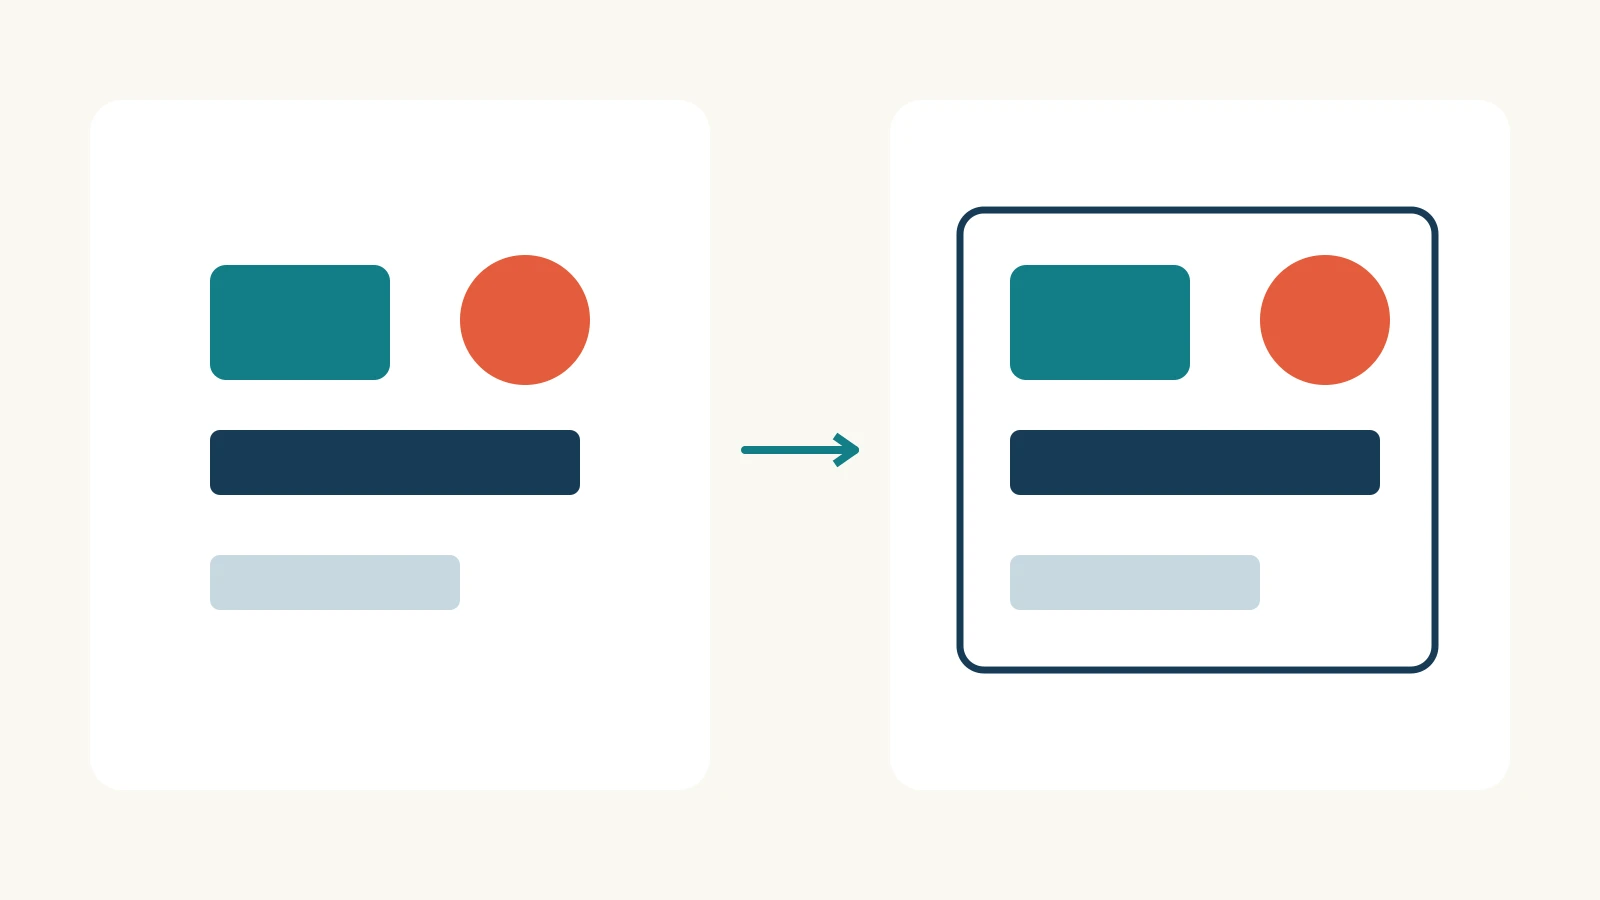
Group the objects you actually want to move
On Windows, hold Ctrl to select the objects. On Mac, use Command; Group may appear under Arrange. In PowerPoint for the web, select with Ctrl and use Arrange → Group on the simplified ribbon.
These routes follow Microsoft’s grouping instructions. Select the component you need rather than every object on the slide. A border around an entire screenshot is one picture, even when that picture visibly contains many shapes.
Before moving the result, give the component a clear boundary in your own mind. Does the numbered badge belong to the process step, or to the whole diagram? Does the connecting arrow belong to this card, or to the relationship between two cards? That decision determines what should travel together.
Build a process step that stays editable
Imagine a slide showing three stages: prepare a draft, review it, and approve it. You want to move the middle stage down to make room for a longer comment. Its panel, number and status should stay together; the slide title, connecting arrows and workload table should stay independent.
Use this four-part card as a small practice example. The names and labels are illustrative.
| Part | Example content | Why include it in the group? |
|---|---|---|
| Rounded rectangle with text inside | Review draft Owner: Maya | The panel and its wording describe one step. |
| Small circle with a number inside | 2 | The badge identifies that step wherever the card moves. |
| Small status shape with text inside | In review | The status belongs to this step. |
| PNG illustration | A simple document symbol | The picture supports the card’s meaning. |
Keep the connecting arrows outside the selection. They describe a route between stages, so you may need to adjust them after moving one card. Keep the workload table outside too: its rows are a separate part of the slide’s explanation.
Arrange the four pieces into a readable card before combining them. For example, place the number at the upper left, the illustration beside the wording and the status below it. Leave room for “Owner: Maya” to become a longer name. The layout should work because its spacing is sensible, not because grouping hides crowding.
Group those four objects and move the card to its new position. Then inspect the boundaries: the badge should still belong visually to the panel, the status should remain legible, and the connector should point to the intended step. A neat group can still be in the wrong place.

Find the object that disables Group
Microsoft lists these common blockers: only one compatible object is selected; the selection includes a table, worksheet or GIF; or a title/content placeholder is included. SVG icons must first be converted to shapes to group them. Remove the incompatible item from the selection and try the compatible shapes together.
Use a small selection to locate the problem. In the process example, start with the panel and number badge. If they combine, add the status shape and picture deliberately rather than selecting the whole slide again. This narrows the question to the object you just added.
The title at the top of a slide may be a layout placeholder even though it looks like ordinary text. Leave the slide title where it is. Do not replace the entire layout merely to move a process card. If a label needs to belong inside the card, the practice example uses text inside its panel shape.
A table needs a different decision. Suppose the slide includes a weekly workload table with three editable rows. Keeping it independent lets a colleague change those rows. Turning it into a picture just to make one large group sacrifices that useful editing task. If the card and table must move, reposition the two units separately.
For an SVG, consider what you need from the artwork before converting it. A document symbol is a small decorative member of this example; a detailed logo may deserve to remain an independent asset. Save the original artwork so that a later design change does not depend on reconstructing it from the slide.
Change one member without rebuilding the card
You can select the group and then select a member to work on it. To separate the objects, select the group and choose Group → Ungroup. Previously grouped objects also offer Regroup. These commands manage the grouping; they do not create missing source objects.
Try a concrete edit on the practice card: change “In review” to “Approved” and change the owner to “Maya Chen.” The point is to make those changes without recreating the card. Check whether the longer owner name fits and whether the new status still has enough breathing room.
If the status needs more space, adjust the component rather than shrinking all its words until they are hard to read. If the entire arrangement needs to change, separate it and rebuild the spacing. Small corrections and major redesigns need different amounts of access to the objects.
The PNG member remains a picture. Grouping does not turn its internal pixels into editable shapes or text. You can keep that picture with the card while maintaining the native text and shapes around it; that is a different promise from making every part of the illustration editable.
Choose a group boundary that matches the next edit
Ask what another person is likely to change tomorrow. For the process slide, the answer might be a stage owner, a status or the order of stages. Three small card groups support those changes more clearly than one group containing the entire slide.
A practical grouping boundary often corresponds to one idea: a person’s profile card, a labeled diagram node or one step in a process. Objects outside that idea stay separate. This is a design choice, not a requirement to group every visual element.
Alignment remains useful before and after grouping. Microsoft’s alignment guide distinguishes lining up edges or centers from distributing objects at equal distances. Use those operations for spacing; use grouping for the unit you want to manipulate. Combining objects does not, by itself, decide how the slide should be arranged.
For a recurring card, keep an untouched copy of the component in a working slide. When the wording changes substantially, compare the new version with that reference. The purpose is to preserve a usable design, not to force different amounts of text into identical dimensions.
Hand off the pieces the recipient needs
Before sending the deck, make the three edits a recipient is most likely to need: move one card, change its owner and update its status. Use a copy of the file for that trial. The useful result is a component whose editing behavior matches the handoff request.
If the recipient only sees one picture when they select the card, ask for the source slide containing the separate objects. Ungroup is not a recovery method for a flattened screenshot. Rebuilding from the underlying text, shapes and original artwork is a separate task.
When several people will maintain the presentation, add a short handoff note: “Process cards are grouped; arrows and the workload table remain separate.” The editable PowerPoint handoff guide explains how to agree on the edits a recipient should be able to make. A useful group makes those edits predictable while keeping the slide’s structure understandable.